What is the indirect method?
The indirect method - also called the "reverse method" - is a technique where you do not glue the tiles directly onto the final base. Instead, you first place them upside down on a temporary adhesive film. Only then is the complete mosaic transferred as a single whole onto the base.
The great advantage of this method is that your end result has a perfectly flat, even surface - all tiles are at exactly the same height. This is much harder to achieve with the direct method. Furthermore, you can work comfortably at your workbench and only transfer the mosaic to the desired location at the very end.
The method requires a bit more preparation and patience than the direct method, but the result is more than worth that extra work.
What do you need?
Before you begin, make sure you have everything at hand:
For placing the tiles:
- Mosaic tiles of your choice
- A design/pattern printed on paper
- Adhesive film (self-adhesive transparent film)
- Painter's tape
- A workboard
- A mosaic nipper (to cut tiles to size)
- Tweezers (for small or hard-to-place tiles)
For gluing onto the base:
- Powdered tile adhesive
- Water + a measuring cup
- A mixing bowl
- A spatula or palette knife
- A notched trowel
- Your final base (e.g. MDF craft blank)
- An extra small board to press down with
- Wood glue or water-resistant glue (for loose tiles afterwards)
Step 1 - Secure the design to the workboard

Print your pattern at the desired size and place it on your workboard. Secure it firmly with painter's tape on all sides so it cannot shift during the work. Painter's tape is ideal for this use: it adheres well but leaves no traces on your work surface or your design. Make sure your workboard is stable and flat - this is the foundation of everything.
Step 2 - Place the film with the sticky side up

Cut a piece of adhesive film that is slightly larger than your design - allow a margin of 1 to 2 cm on all sides. Place the film with the sticky side up on your design. Thanks to the transparency, you can clearly see the pattern through it, so you can place the tiles correctly.
Secure the film all around with a small piece of painter's tape so it cannot curl or shift. This is now your work surface: the tiles will stick directly to the sticky side of the film.
Step 3 - Place the first tiles: start with the details

Now the actual mosaic work begins. Place the mosaic tiles with the good side (the beautiful, glossy side) down on the film - the back points upwards. The tiles will stick to the adhesive film automatically.
Always start with the details and outlines of your design: the outline of the motif, small accents like an eye or beak, and only then the larger areas. Cut tiles to size as needed with the mosaic nipper. Work calmly and precisely - what you see now is the back, but the front that will be visible later is what counts!
Step 4 - Fill in the entire design and fill the background

Continue filling in the design. Cut tiles to size with the mosaic nipper where necessary for a neat fit. Once the main motif is complete, fill in the background - in this example, blue glass tiles around the bird.
Ensure even joints (gaps) between the tiles, and regularly check if everything aligns well with the pattern underneath. Take your time with this part: a carefully filled design makes the final result significantly more beautiful.
Step 5 - Stick the second film over the work

When all tiles are in place, it is time for a crucial step: stick a new piece of adhesive film over the top of the mosaic - the back of the tiles. Press the film down well so that all tiles are firmly secured.
You now have film on both sides of your mosaic. This ensures that everything stays in place during flipping and transport.
Step 6 - Remove the bottom film and adjust the tiles

Carefully flip the work over so that the back of the tiles points upwards. Now slowly remove the original (bottom) film - the film on which you placed the tiles. Pull it back carefully and flat, not upwards.
Then thoroughly check if all tiles are still in the correct position. Have any tiles shifted or become crooked? Use tweezers to put them precisely back in their correct place. This is your last chance to make corrections before the mosaic is permanently glued down.
Step 7 - Ready for the base

Your mosaic is now completely held together by the second film and ready to be glued onto the final base. Place the work and the MDF craft blank next to each other so you have everything at hand for the next step. Also check if the base is the correct size and fits your mosaic nicely.
Step 8 - Prepare the supplies for gluing

Make sure all materials for gluing are ready: the mixing bowl, the measuring cup with water, the tile adhesive powder, the spatula and the notched trowel. Also place a sheet of paper or film on your work surface to keep the table clean.
Step 9 - Mix the water with the adhesive powder

Add the water to the adhesive powder in the mixing bowl - not the other way around, otherwise the powder will clump more easily. Stir well with the spatula until you get a smooth, homogeneous paste without clumps.
The correct consistency is similar to peanut butter: not too runny but also not too stiff. An adhesive that is too thin adheres poorly; an adhesive that is too thick is difficult to distribute evenly. Take your time to mix well.
Step 10 - Apply the adhesive to the base

Scoop a generous amount of tile adhesive onto your MDF base and distribute it with the spatula evenly over the entire surface. Make sure every corner and edge is covered - otherwise the tiles will not adhere well there later.
Step 11 - Use the notched trowel at 45 degrees

Take the notched trowel and hold it at a 45-degree angle relative to the base. Pull the trowel in straight, even lines across the adhesive to create a ridged pattern and remove the excess adhesive.
Those ridges are essential: they ensure maximum adhesion between the tiles and the base. Work systematically and ensure an even layer over the entire surface.
Step 12 - Place the base onto the mosaic

Now carefully place the base with the adhesive side down onto the mosaic. Do not press down immediately - first position everything correctly. Make sure the mosaic is nicely centered on the base. If necessary, slide the work into its correct place by gently pulling the film.
Step 13 - Carefully flip over and press down well

Now carefully flip the whole thing over so that the mosaic is on top with the beautiful side facing up. Then press down firmly and evenly over the entire surface with both hands - or use the extra small board to distribute the pressure well. Press down well on the center as well as the edges and corners. This is decisive for a flat and sturdy end result.
Now let the work dry completely for at least 1 to a few days before continuing.
Step 14 - Remove the last film

When the adhesive is fully cured, it is time to remove the last film. Start carefully in a corner and pull the film slowly and flat backwards - never pull upwards, as this risks pulling tiles with it.
Hold the tiles down lightly with one hand while slowly pulling the film away with the other hand. Work patiently and methodically from one corner to the other.
Step 15 - Gluing loose tiles back on

It is completely normal for one or more tiles to come loose during the removal of the film. Don't panic! Simply glue them back in their correct place with wood glue (such as Collall or a similar product). Use tweezers for precise placement.
The final result
After all these steps, you have a beautiful mosaic with a perfectly flat, professionally finished surface. The indirect method distinguishes itself precisely by that flat finish - all tiles are at exactly the same height, which gives the work a sleek, high-quality appearance.
Your work is now ready to be grouted, hung up or bricked in.
Tips & points of attention
- Work precisely when placing the tiles - mistakes are only visible after you have flipped everything over, so take your time in the beginning.
- The good side of the tiles always goes down on the film - this is the most important principle of the indirect method.
- Use painter's tape to secure your design and film - it adheres well but leaves no traces.
- Use enough adhesive on the base, but not too much - too much adhesive squeezing between the joints makes it harder to grout later.
- Always pull the film flat and backwards, never upwards - this prevents tiles from coming loose.
- Allow sufficient drying time - the more patient you are in this step, the better the final result.
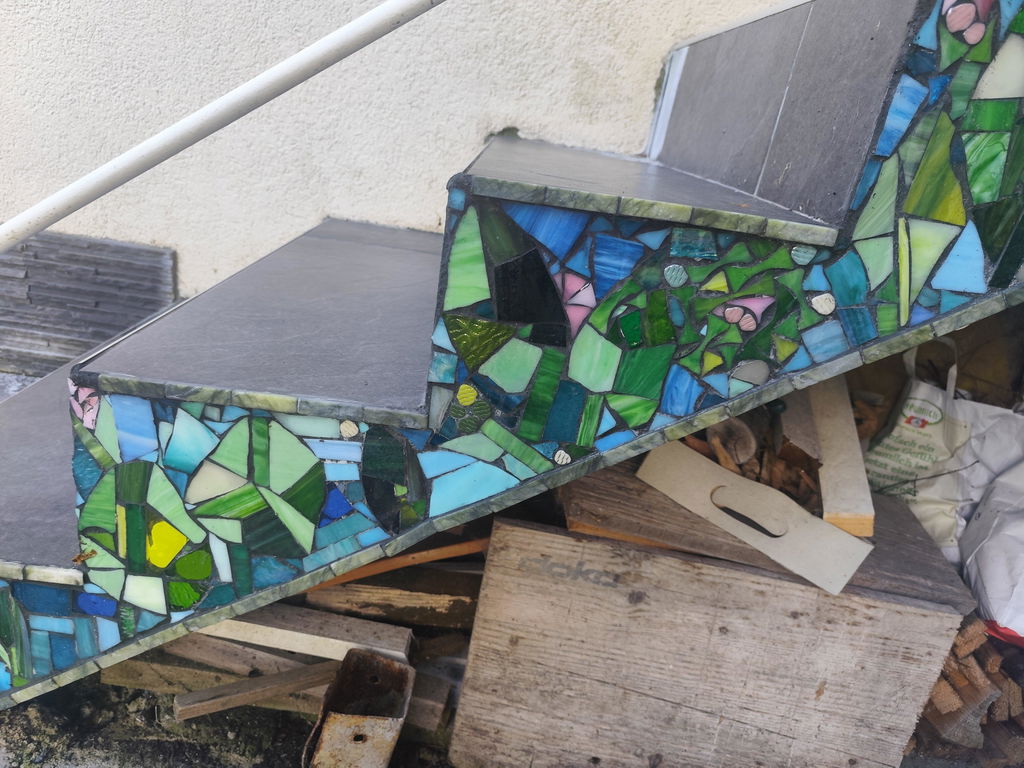
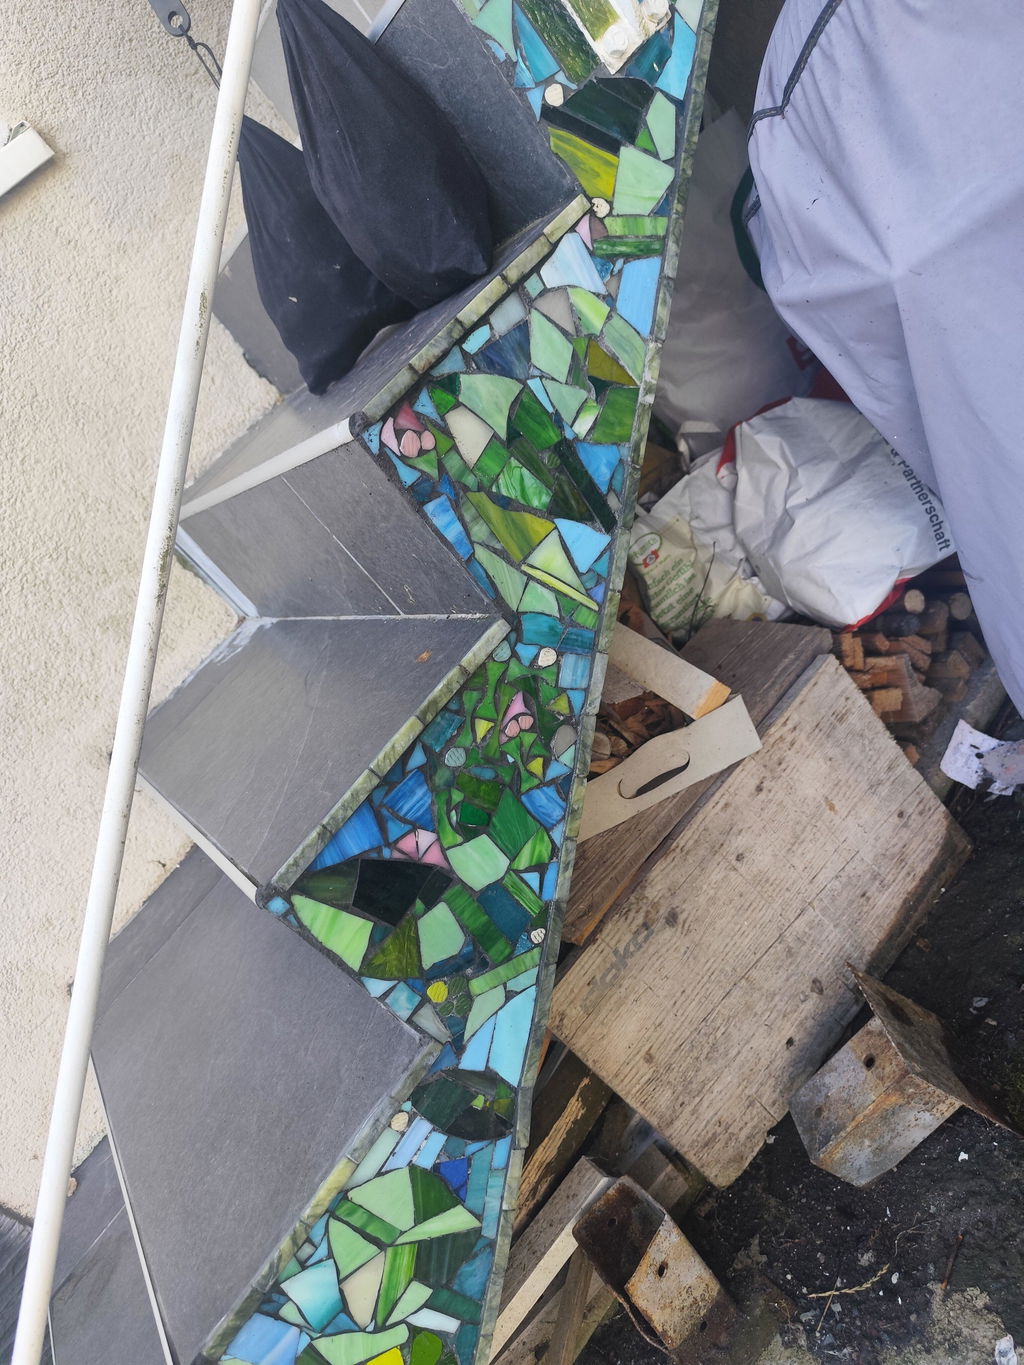
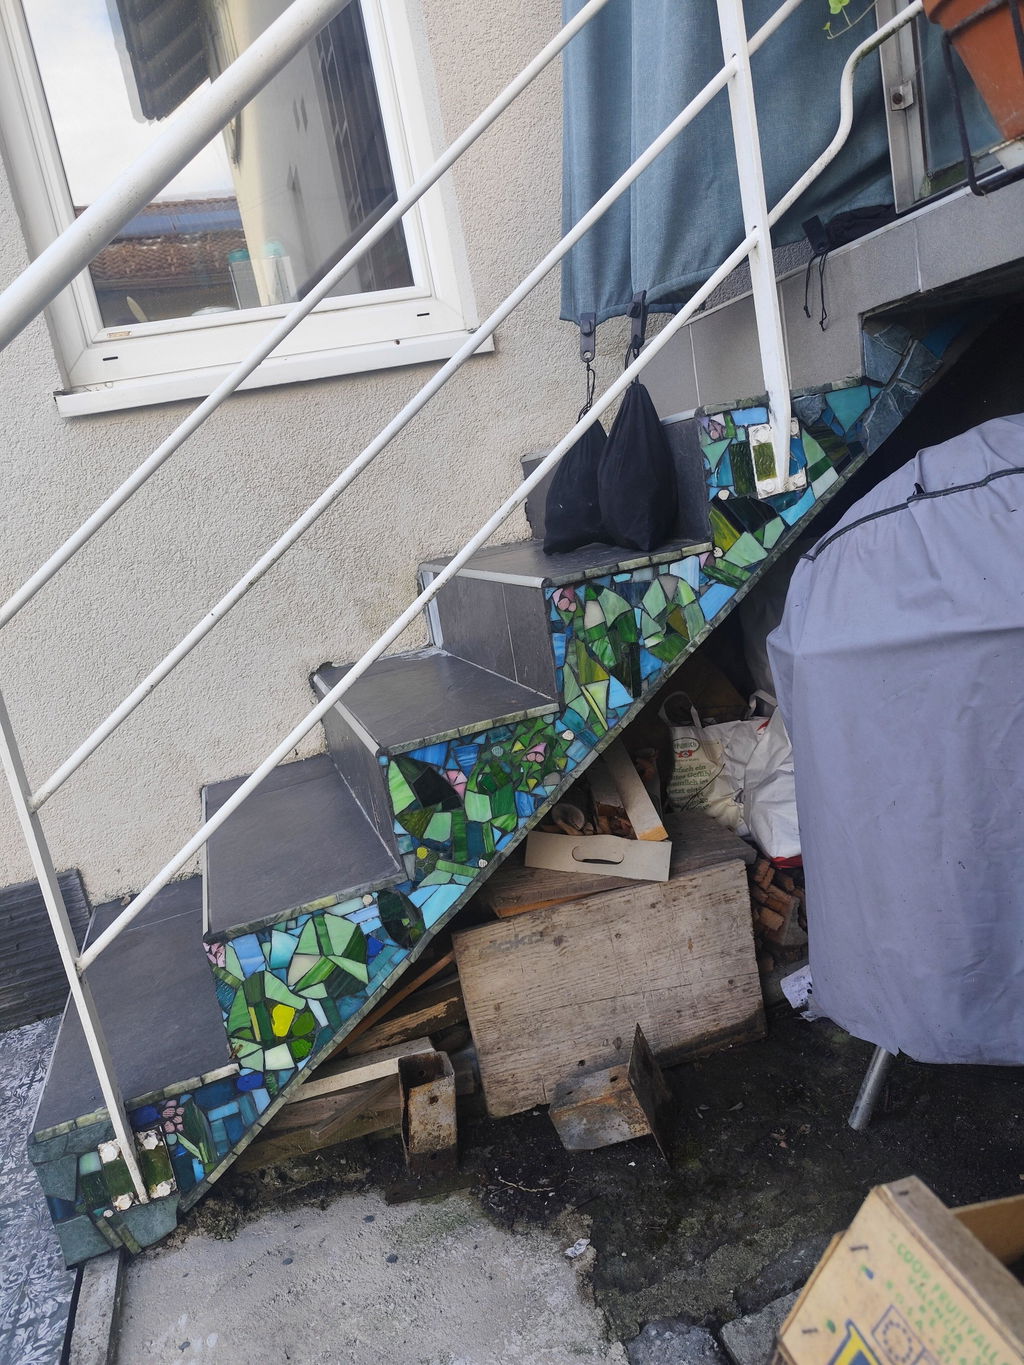
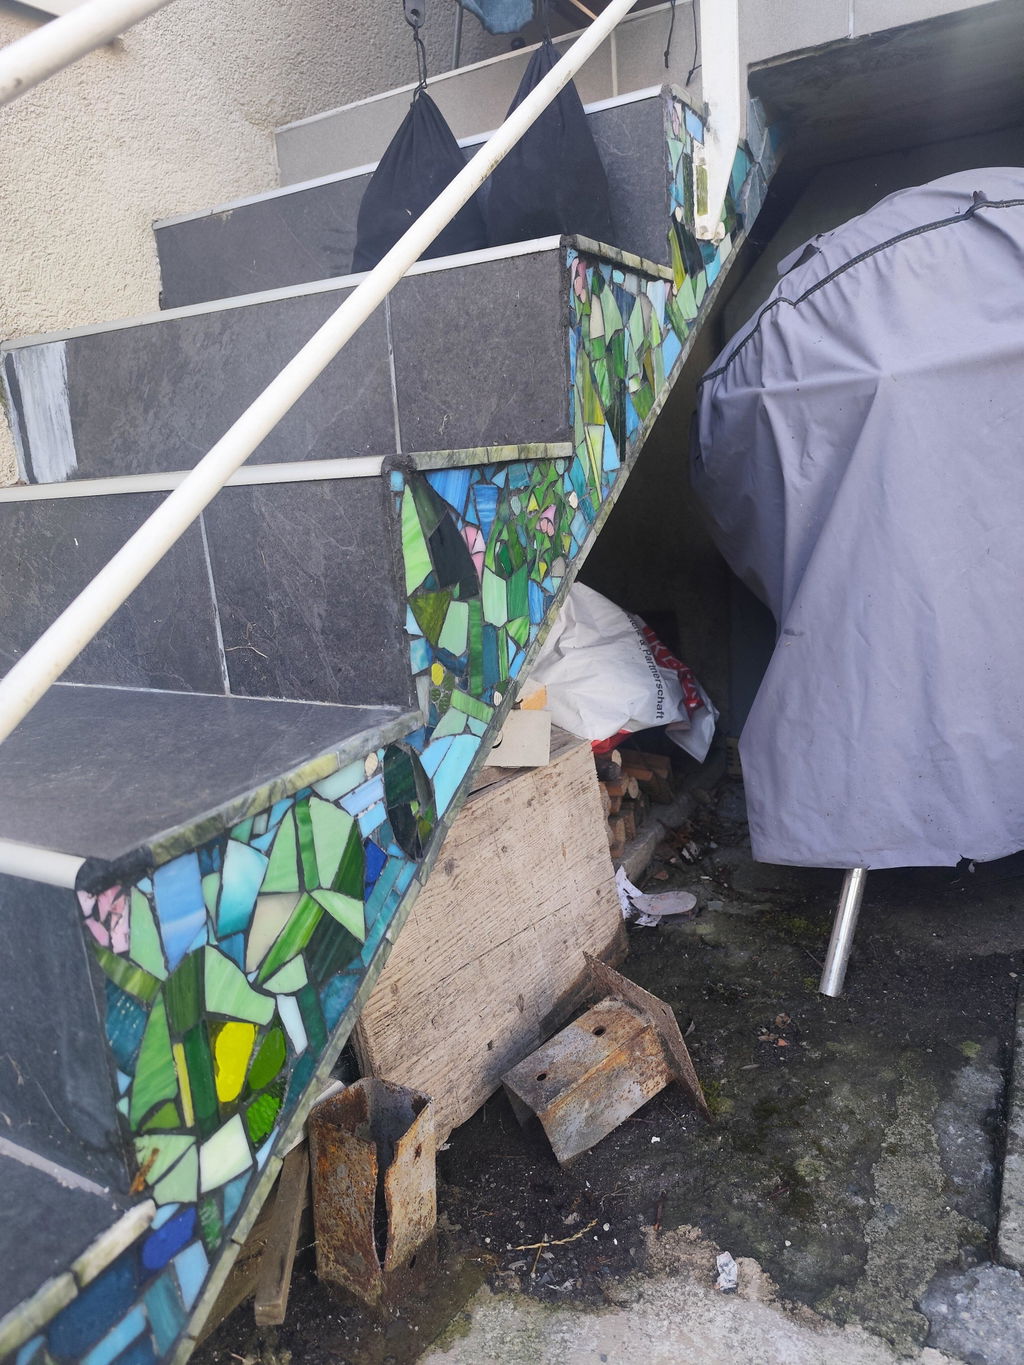
- For outdoors: always use frost-resistant mosaic tiles as well as water-resistant tile adhesive and grout.